Monday 14 June 2010

It's me!

Hello hello all plant growers,

It's me, the original Mr.Raddish father, back in charge for a week. I received him on Friday and almost immediately jetted off up to Loughborough for the weekend, so he was left alone, but safe up on the Seren roof terrace. Let the week begin!


Tuesday 8 June 2010

:*(


Dear team, we lost a radish to cold and rain yesterday.

Am very sorry about this:**(


when I came home :(

It was rainy all day, so I was a little worried about Mr. Radish, and came home to find him in the balcony, sad and lonely.

Monday 7 June 2010

uh oh, rain

put mr. radish in the balcony for some sun, he got rain instead. hope it doesn't rot:(

on the bus home

it's so stressful to carry this home, they were sticking their heads out of the pot and I took a picture despite the fellow commuters stares.
sigh.


welcome little fellas

Nuala handed over these beauties to me on Friday. Am excited about being a mother for the first time. Hope I don't kill them.


Friday 28 May 2010

quick pic ...

Thinned him out a bit and will do more over the next couple of days. Looking a lot better!

Thursday 27 May 2010

Moving on swiftly...

Where to begin? No blogging skills and more importantly no gardening skills!
It's going to be a very long week, but I'm very excited!
Hi, I am Nuala, and today is handover day. This means I get to take Mr Radish home! Let's see how I get on .... (wish me luck)
After a long train ride home we managed to make it back in one piece, let's see how it's doing ...

Since Ian has done so well with Mr Radish, the best place to start is to re-read his posts and check out what he's found!

Cool - Ian's posts have informed me of various growing conditions for radishes in containers: Dappled sun light and not too cold (EASY!)

Since its turned into a quite a nice night, I have decided to leave him on the grass.

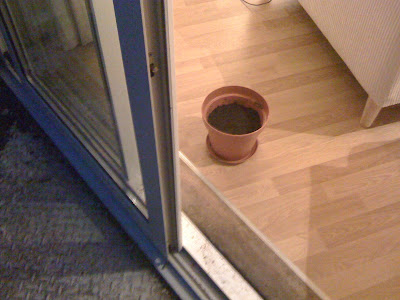
Welcome to your new home


What to do next? Time for some of my own research:


I did a general search on growing radishes and found the following websites helpful in deciding my next steps:

Each mention that once the radishes have sprouted you should "thin" them, which means I need to remove the weak shoots giving the stronger shoots a better chance with more space to grow. As it's my first night and Mr Radish has had a dramatic day stuck in an air conditioned office, I will only pick a few and do more tomorrow.


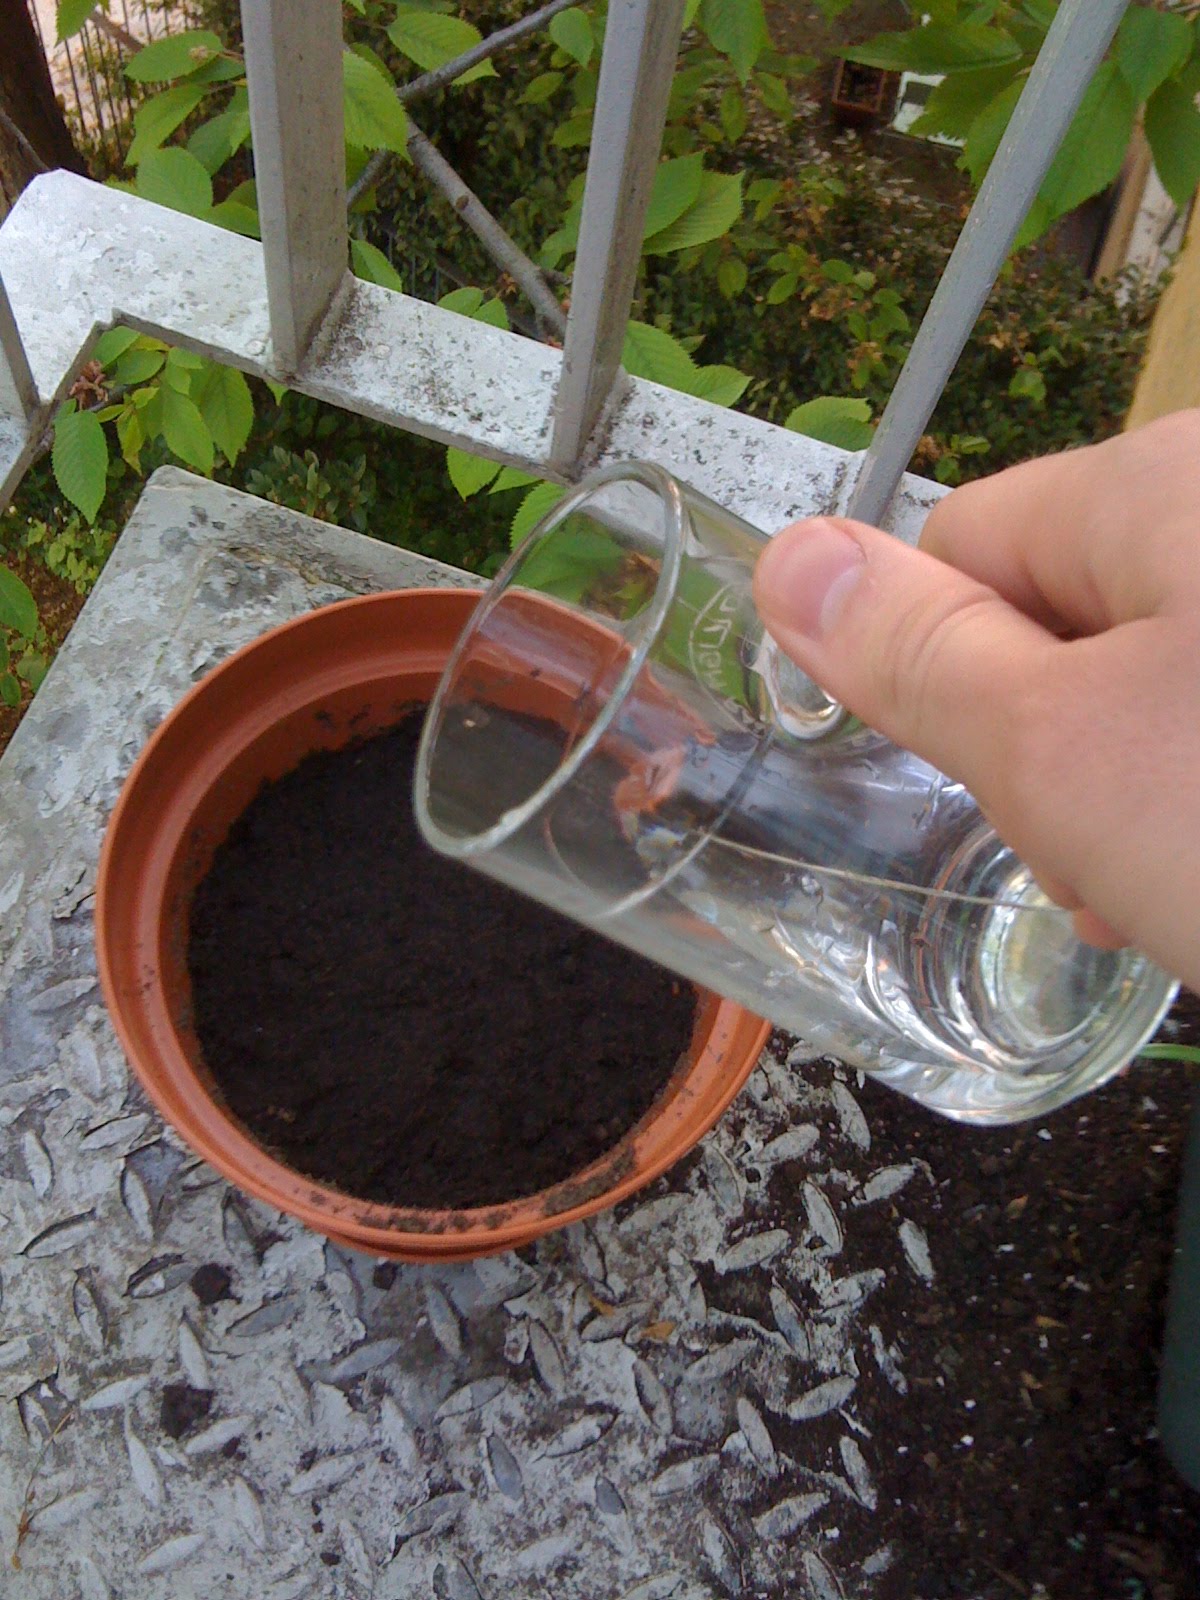
Time for a bit of water and for me to leave you all in peace,


To be continued ...

handover day

I fought through illness to make it in for the all important Mr.Radish handover day. He is now at the mercy (or in the capable hands of) Nuala for the next week.

First job: removing some of the shoots so that Mr.Radish has some space to spread its feet. Looking at the other blogs I see that mine is very untidy. :( clearing up and reducing number is definitely needed. Another thing is that the soil level is a little low. I will bring soil in tomorrow and perhaps you can de-pot and feed some soil in the bottom (this may be dangerous though). I guess that would give it more space to grow down.... silly me!

Here's the ceremonial (and not at all cheesy) hi-five handover:
Good luck Nuala!

Wednesday 26 May 2010

It's getting a little cramped in here

So despite very little care from me other than watering, we've gone from strength to strength and now have a pot full of leafy shoots. Almost looks as if Mr. Radish now has a green head of hair. So, my concern now is that to grow further it will need more space. My housemate Greg told me last night that I should really remove some of the smaller shoots and let the larger ones spread their legs. hmmm... not really sure I know what I am doing soooo

I am going to leave it as first task for Nuala on Thursday!

over and out

Tuesday 25 May 2010

reach for the sky!

Wooohooo, we have proper signs of life now. Tall shoots sprouting out of the soil. I've been a little busy so have not had too much time to give Mr. Radish the care it deserves so this evening I am going to give it a nice clean up, a gentle water and perhaps even read it a short story.

I had a little search for on-going care tips, and it seems I just have to keep it out of direct mid-day sunlight and watered nicely. Otherwise we are all set. Only thing I regret, aesthetically, is not building the soil up to the top of the pot. (although perhaps this protects the little shoots from wind etc... hmmm we'll see)

ok, until tomorrow...I should go do some work!

Monday 24 May 2010

Sunday 23 May 2010

grow my pretties

Just got back from my weekend away and the shoots are going strong, check it out:


This does beg the question, what do I do now? I've got it to this point, but other than feeding it a little water every day (and I don't even know if thats the right thing to do) I'm not sure what I should be doing. So, to avoid me posting constant photos of me watering the damn thing, I'm going to try research a bit into what I do now. Oh... and here's me watering it:


Saturday 22 May 2010

signs of life!

I didn't expect to be seeing little shoots so soon, and perhaps it's because of the beautiful weather but here you can see some tiny first signs of life. I am very happy that it's been successful so soon, I have not failed! (yet)

I am going away for the weekend now, but I've given it another little drink and the forecast is for warm, sunny weather so I'm going to leave him out on the balcony. Over and out.

Friday 21 May 2010

Watering

woke up, put mr. radish back out on the balcony and gave it a little drinky:


Thursday 20 May 2010

Later that night

When I got home from a meal out it was getting a little cold, and I'd noticed a little earlier that radish plants don't do that well in the cold. So I brought the plant in for the evening, and hopefully remember to pop it back out in the morning. I am so caring!


First Day - The planting!

Hello plant growers, it's Ian here. I've been foolish enough to take on the huge responsibility of setting up and planting our lovely Radish plant and here follows the story of my first day in charge:

To start I searched the web to see what I could find regarding radish plant growing, and surprisingly theres actually quite a lot out there. Many sites seemed to focus on large scale growing (for people looking to harvest and eat it I guess) but after a while I managed to hit upon this piece of gold: How to grow Raddish in containers

It's exactly what I needed and what's more it's aimed at kids, so just right for someone with my level of gardening skill. :)

Here's my process, as instructed by the site:

1. The kit
I unpacked everything on my balcony in the brilliant sunshine!


2. Compost in
First step, fill up compost till just below the top.


3. Water compost
The instructions I found said to water this compost first, before planting the seeds. So... I did!


4. Sew seeds
Then I sprinkled the seeds lightly on top of the wet compost.


5. Cover with dry compost
Finally, the instructions say to cover with dry compost, to trap the moisture below the seeds.


5. Done!
I placed the plant in dappled sunshine, as the website said that direct sunlight may be too much for it at this time of year. Note that it sits next to failed attempts at plant growing from our past flat tenants... let's hope if fairs better!

Tuesday 18 May 2010

Hello! A-team!

Hello! A-team of "grow a plant together" project!

Thanks for participating, we are so excited to work with you for next few month.

I hope you guys will have good fun growing radish :)